How to Fix Cloudy, Bubbling, Peeling, or Worn Concrete Sealer
Restore, reseal, or strip? Here’s how to choose the right solution for your sealer issues.
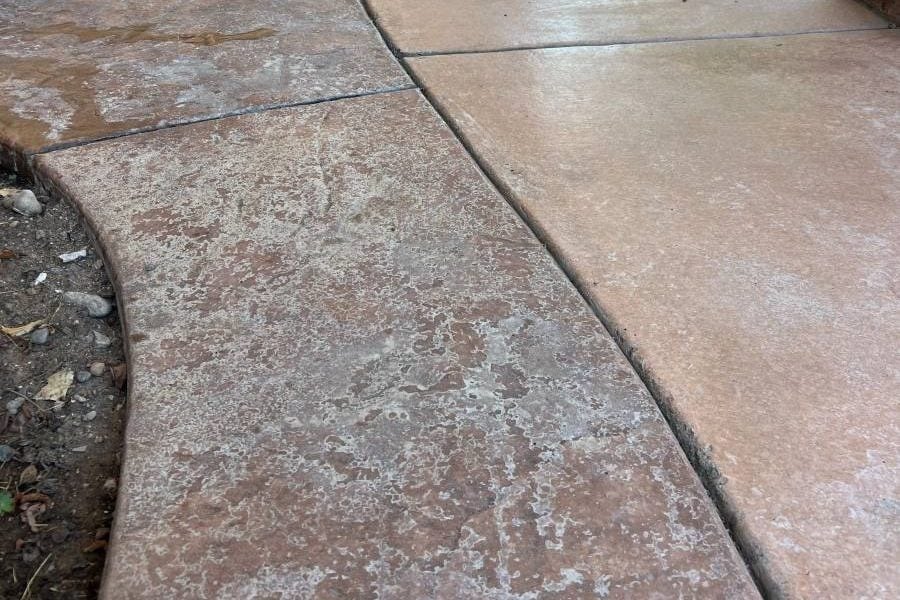
For stamped, stained, and exposed aggregate concrete, sealer is what protects the surface and keeps the color looking sharp. Has yours seen better days? Common sealer problems like cloudiness, bubbling, and peeling only get worse when left unaddressed. The fix depends on how far gone things are.
Use this guide to determine whether your sealer needs to be restored, resealed, or stripped.
Note: This guide covers solvent-based sealers. If you’re working with a water-based or penetrating product, the diagnosis looks different.
HOW TO EVALUATE YOUR SEALER
Before you can diagnose a sealer problem, you need a clean surface. Start with a light pressure wash and a good cleaner like Brickform Neutra Clean.
This does two things: it removes dirt that could be masking the real condition of the sealer, and it reveals bonding issues. If you’re blowing sheets of sealer off during the wash, you already have part of your answer.
Once the surface is clean, run these two tests:
Acid test: Apply a small amount of diluted muriatic acid to an inconspicuous area. If it bubbles, you’ve got bare concrete, or the sealer is largely gone. No reaction means sealer is still present. Keep in mind that presence doesn’t equal performance. It can be down and failing at the same time.
Scratch test: Drag a fingernail or knife across the surface. If the sealer flakes off with light pressure, it hasn’t bonded correctly. Restoration won’t hold. You’re looking at a strip.
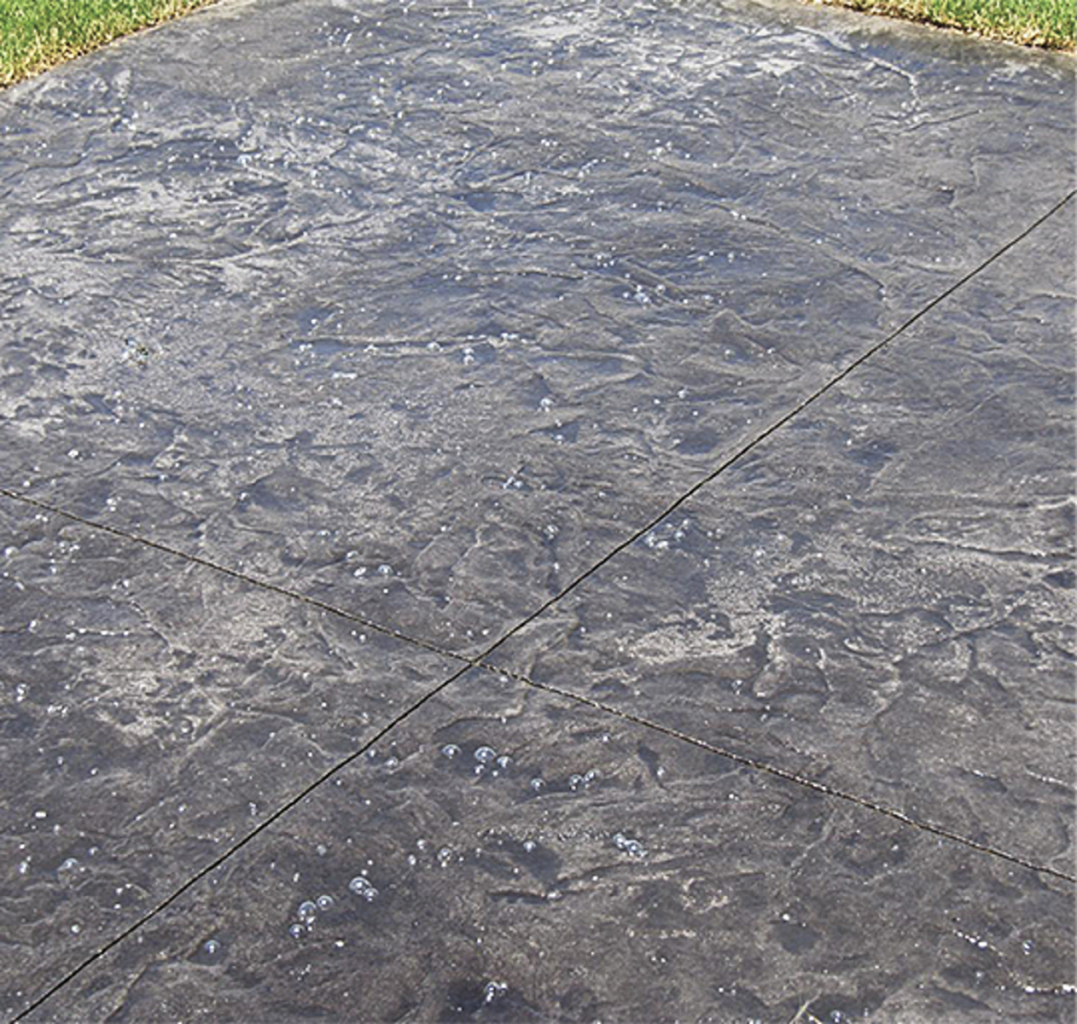
WHEN TO RESTORE A CONCRETE SEALER
Restoration addresses cosmetic problems that occur during or shortly after application, not general wear on an aging slab. If you applied sealer in the heat of the day and got bubbles, or put down too heavy a coat and it whited out, restoration is the right call. If you’re going in for a routine reseal on a well-maintained slab and the application goes sideways, restoration may save you from stripping and starting over.

Signs your sealer needs to be restored:
- Small bubbles or blisters appear, typically caused by sealing in hot weather.
- A cloudy or milky appearance caused by moisture trapped beneath the sealer.
Restoration is not a maintenance strategy for old sealers or a substitute for resealing worn concrete. Restoration products don’t add acrylic. They work with what’s already on the slab. Plenty of material down but it looks bad? Restore it. Worn slab with little acrylic left? You need to reseal.
Recommended solution: Revive your sealer with an emulsifier
Products like Brickform Sealer Rescue+ can re-emulsify existing solvent-based sealers to resolve bubbles or blisters and cosmetic issues such as a cloudy or milky appearance. Sealer Rescue+ allows the sealer to penetrate the surface and re-bond to the concrete.
Pro Tip: Pure xylene can fix blushing and bubbles, but it flashes off fast. Sealer Rescue+ is formulated to evaporate slower, giving the sealer more time to re-emulsify and bond to the concrete.
Sealer Rescue+ can also address uneven buildup on slabs that have been resealed repeatedly. Concrete doesn’t wear evenly. High-traffic areas, sun-exposed sections, and shaded zones all break down at different rates, leaving some areas worn through while others have accumulated multiple layers. Sealer Rescue+ re-emulsifies the acrylic so it can be redistributed evenly.
“Try Sealer Rescue+ first. If it brings the sealer back, you just saved yourself a strip job. If it doesn’t, that tells you something too. Remove the failing sealer and start over.”
— Johnny D., Brickform trainer
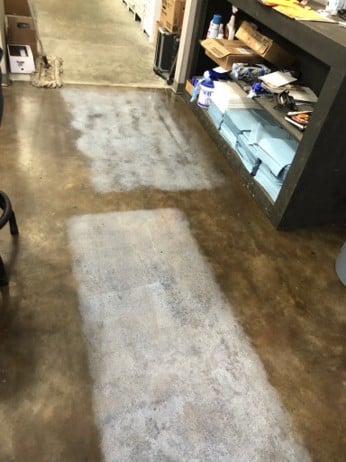
WHEN TO RESEAL CONCRETE
A fresh coat of sealer loses its sheen over time. That’s normal. What you’re watching for is the point where protection breaks down, not just where the surface stops looking new.
“When you put a fresh coat of wax on your car, it looks great for a few weeks, then starts to fade. Your concrete sealer works the same way.”
— Antonio Thomas, Brickform
Sealers naturally wear down from traffic, weather exposure, and UV light and typically need to be reapplied every three to five years. If the existing sealer is still intact and well-bonded, a maintenance coat is often all that’s needed.
Signs it’s time to reseal
- Water soaks into the surface quickly
- The finish looks dull or faded
- Color enhancement has diminished
- Stains are becoming more common or are difficult to remove
- The existing sealer is intact with no peeling, flaking, or cracking
Recommended solution: Apply another coat of sealer
Before resealing, clean the surface thoroughly and confirm that the existing sealer is compatible with the new sealer being applied.
If you don’t know what sealer is currently on the slab, contact the contractor who did the work. If that information isn’t available, strip or sandblast and start from scratch. Don’t guess.
When the existing product is known, use the same sealer over itself. Gem-Seal over Gem-Seal, Poly-Seal over Poly-Seal.
Did You Know? Buildup from repeated resealing can eventually cause cracking and peeling. If the sealer is still bonded, Sealer Rescue+ can re-emulsify and even out accumulated layers. If it’s failing, strip it back to bare concrete and start clean.
Keep in mind, wear is rarely uniform across a slab. High-traffic areas may need attention sooner while low-traffic zones still have adequate coverage. Spot treating worn areas is an option, but keep an eye on buildup in those untouched sections. Accumulated layers in low-traffic areas can lead to clouding, delamination, or flaking over time.
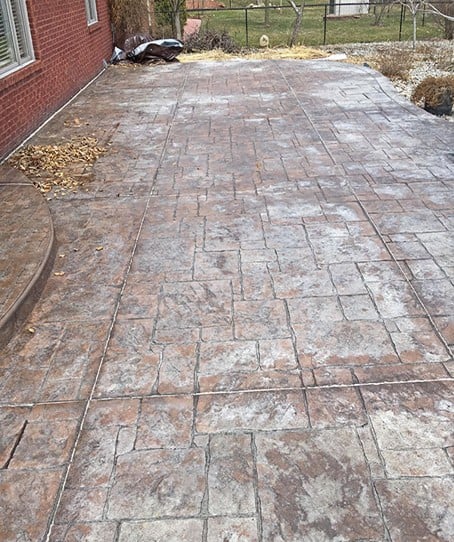
WHEN TO STRIP AND START OVER
Some sealer problems cannot be corrected with restoration products or additional coats of sealer. If the existing coating has failed, it should be removed before resealing.
Signs a sealer needs to be stripped
- Peeling
- Flaking
- Cracking
- Extensive bubbling
- Widespread sealer failure
- Multiple layers of old sealer causing buildup
Recommended solution: Strip the existing sealer and reapply
Remove the failed sealer completely using a concrete sealer stripper such as Brickform Strip-It. For surfaces with deep impressions, heavy texture, or large square footage, sandblasting may be the more practical option. Once the surface is clean and free of residue, apply a new coat of sealer.
WHY DO SEALER PROBLEMS HAPPEN?
Most sealer failures trace back to one of three things:
Applying too heavily. Today’s sealers are engineered to go down in thin lifts. More material is not more protection. A thick coat traps solvents and moisture beneath the film, leading to whiting out and delamination. Thin to win.
Sealing damp concrete. Concrete is porous and holds moisture from both the top and bottom. Seal over a damp slab and you’re trapping that moisture under the film. The result is whiting out, efflorescence, and cracking. Make sure the slab is fully dry before you apply.
Applying in direct sunlight or extreme heat. Heat causes air inside the concrete to expand. Sealer applied over a hot slab traps that expanding air, and bubbles are the result. Apply in the morning or wait for shade.
For a deeper look at sealer application best practices, see How to Apply Concrete Sealer.
QUICK DECISION GUIDE
| If You See… | Recommended Fix |
| Fresh bubbling or blistering after application | Restore with Sealer Rescue+ |
| Cloudy or milky appearance | Restore with Sealer Rescue+ |
| Dull appearance, poor water repellency, increased staining | Reseal with a fresh coat |
| Peeling, flaking, cracking, or widespread failure | Strip and seal again |
More About Sealers:
See More