10 Tips for Pouring Decorative Concrete in Cold Weather
How to get consistent results on colored, stamped, and exposed aggregate concrete when temperatures drop.

Cold weather slows everything down. Set times stretch, and bleed water lingers. On plain gray concrete, that’s a scheduling problem. On colored, stamped, and exposed aggregate, it can show up in the finish.
Cool weather can work in your favor, but freezing weather is a different story. Once the ground freezes, most contractors hold off on decorative work until it thaws. To find out what works for cold-weather decorative work, we talked with Brickform’s technical team, our reps in cold climates, and a contractor in Ontario, Canada.
WHAT TEMPERATURE IS TOO COLD TO POUR CONCRETE?
Don’t pour decorative concrete on frozen ground or when nights will drop below 32°F.
Above freezing, cool weather still slows the set and strength gain. That can be a surprising benefit. As John D’Introno, Brickform trainer and decorative expert, points out, the concrete won’t get away from you like it can in summer, and plastic shrinkage cracking is less of a risk.
The tradeoff is timing. Finishing, color hardener, and stamping all happen later than you’re used to. A 20°F drop in concrete temperature roughly doubles setting time, according to the National Ready Mixed Concrete Association (NRMCA).
COLD WEATHER PROBLEMS TO WATCH FOR
Cold slows the set, and bleed water sits on the surface longer. On decorative work, that can lead to:
- Uneven color. Lingering bleed water and coverings on the slab can leave blotchy color.
- A weak surface layer. Finishing or broadcasting color hardener over bleed water can cause dusting, scaling, or pop-outs.
- A harder-to-read stamping window. The slab stays soft longer and sets unevenly in sun and shade.
- Freeze damage. A young slab that freezes can spall or scale.
- Sealer problems. Below its minimum temperature, sealer can haze, powder, or fail to bond.
BEFORE THE POUR
1. Watch the forecast for freezing temps and rain
Check the overnight lows and chance of rain for the next few days, not just pour day. Fresh concrete needs time to gain strength before a freeze. Plus, rain can wash out color, weaken the top surface, and make freeze damage more likely.
The people we talked to draw the line in the same place. “If you’re doing decorative concrete, I really wouldn’t do anything once it starts getting below 32 degrees at night,” says D’Introno. Mark Roberts, Brickform’s Canadian sales rep, gives contractors the same advice: “I usually try to tell people not to do it in bad conditions, especially decorative concrete.” Brent Langstaff, owner of Concrete by Design in Sarnia, Ontario, schedules decorative pours for the weeks before nights drop below freezing, then picks back up in spring.
2. Keep frost out of the subgrade
Never pour on frozen ground. If the subgrade is frozen or there’s snow or ice on site, the job waits until it thaws. Preventing frost is easier than thawing it. Late in the season, Langstaff lays insulated blankets over upcoming job areas to keep frost out of the subgrade.
3. Confirm your supplier’s winter mix
Most ready-mix suppliers switch to a winter mix once temperatures drop. Confirm what’s in it before the pour.
- Heated water and aggregates. NRMCA recommends a concrete temperature of about 55°F at placement for flatwork.
- A non-chloride accelerator. Calcium chloride can cause uneven color on colored work. It can also corrode embedded steel.
- Low slump. Keep it as low as practical, and don’t add water on site. Extra water slows the set and extends bleeding.
- Air entrainment. It improves freeze-thaw durability.
“If the sun is hitting one part of the slab and it’s cold out, calcium chloride will cause different areas of the slab to cure at different rates. The result is what we call a palomino effect.”
— McKay Tanner, Brickform’s Utah rep.
4. Get your tools and crew ready
Cold urethane mats stiffen and are harder to handle on edges and detailed patterns. Store them in a warm space overnight.
Decide on your release before the pour, too. If blankets will go on after stamping, powder release can act as a barrier between the fresh surface and the blanket. “Normally we like to use liquid release, but when we’re pouring and have to put blankets over it, we’ll switch to powder release,” points out Langstaff.
Prep your crew, too. Stiff hands lose dexterity, and detail work like edging and stamping suffers first.
- Dress in layers and wear waterproof, insulated boots.
- Keep dry gloves on hand and swap them often.
- Set up a warm place for breaks.
- Assign who handles blankets and heaters before the pour.
- Have lighting ready for short days.
DURING PLACEMENT
5. Wait out the bleed water
A cold slab holds bleed water longer. Don’t start finishing until it’s gone. Troweling too early seals that water in, which can cause pop-outs. Hold off on the steel trowel until the sheen is gone.

The same goes for color hardener. It’s tempting to throw Brickform Color Hardener down to soak up the water and keep moving. Don’t. That water ends up in the surface layer, which weakens it and can lead to dusting or scaling. Let the bleed water evaporate before you broadcast.
6. Check the surface before you stamp
Don’t be fooled by a slab that looks ready but is still soft underneath. Sun, low humidity, and wind can form a crust over concrete that’s actually too soft to stamp. Start too soon and the tools break through or leave uneven impressions.
Press your fingers into the slab in several spots, in both sun and shade. You want a clean, shallow imprint. Then set a mat down and step on it. It should hold your weight without shifting or sinking.
7. Be ready when the accelerator kicks in
Most cold-weather loads include an accelerator. The slab may sit for a while, then set up quickly once the accelerator takes effect. “With the accelerator, once it starts going, it goes all at once. So you’ve got to be ready to go,” says D’Introno. Bring enough crew to stamp the whole slab before it sets, and have your mats and release staged.
Working with exposed aggregate? It’s more forgiving than stamped work in cool weather, since there’s no stamping window to chase. Let Select-Etch go tack free before covering, and don’t apply a curing compound over it. In the cold, you can wash it off the next day. Deeper exposures also hide blanket marks. “If you’re doing a heavier exposure where you see almost all rock, you’re probably not going to see any of the blanket marks in it,” notes D’Introno.
CURING AND PROTECTING
8. Apply a cure and seal
On a fresh cold-weather slab, reach for a cure and seal like Gem Cure & Seal 350 PRO. Keep in mind, it needs air temperatures of at least 45°F for the film to form properly. Too cold and it will leave haze, low gloss, and a softer coating. On colored concrete, wait until all bleed water is gone before applying. Langstaff puts a cure and seal down before winter. A fresh slab isn’t ready for a regular sealer, so that waits.
9. Cover the slab without marking the finish
If the forecast misses and a freeze comes in, blankets aren’t optional. But placing them directly on fresh colored concrete can leave permanent marks. To protect the slab:
- Keep plastic sheeting off colored concrete.
- Put curing paper under the blankets, but watch for overlapping seams.
- Use a heated tent when you can. It avoids contact entirely.
- Vent fuel-burning heaters to avoid dusting.
- Remove protection gradually.
Marks or discoloration left after the blankets come off won’t fade on their own. Wait until spring, then fix them with Brickform Cem-Coat Plus.
Pro tip: If a freeze hits after the pour, keep it covered through the second night. Fresh concrete needs protection from freezing until it reaches about 500 psi, roughly two days at 50°F for most mixes. D’Introno says the second night is often riskier. The slab’s own heat protects it the first night, but if the blankets don’t go back on, the top can freeze.
10. Seal when conditions allow
Every sealer has a minimum temperature, usually 45°F to 50°F, so check the TIS before you start. “To seal concrete, typically I want it to be 45 degrees and rising,” says D’Introno.
When you’re ready to seal:
- Check surface temperature with an infrared gun. The slab can be colder than the air.
- Watch cracks, joints, and saw cuts. Water held there keeps them colder, so they’re often the first spots to fail.
- Spray thin, even coats. Heavy coats give the cold more time to cause problems.
- Look at the forecast three to five days out, not just the day you apply.
- Pick your sealer for the temperature. Solvent-based sealers dry faster. Water-based ones can freeze before they form a film.
- Clean off any efflorescence first with E-Etch and Neutra Clean.
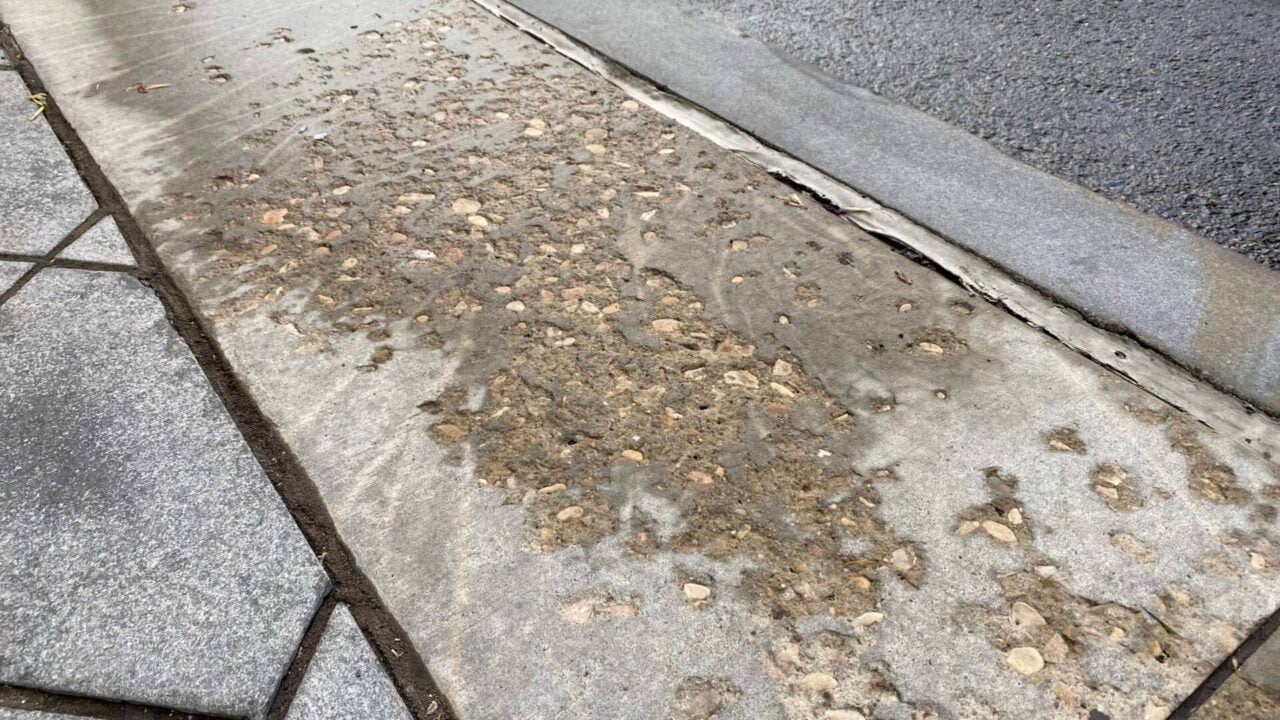
Pro tip: Driveways can’t wait for spring. Deicing salt hits them all winter, so get a salt-resistant sealer like Gem-Guard SB or Stealth-Seal WB down before snow and ice arrive. If the slab isn’t ready to seal, tell the owner not to salt it the first winter.
For summer pours, see 11 Tips for Pouring Concrete in Hot Weather.
If winter has already done damage to an existing slab, see 4 Ways to Make Concrete Look Better After a Harsh Winter.
Need products for an upcoming pour? Find a Brickform distributor near you.
See More