9 Expert Tips for Mastering Exposed Aggregate Finishes
Perfect your exposed aggregate process by using the best techniques and products in the industry

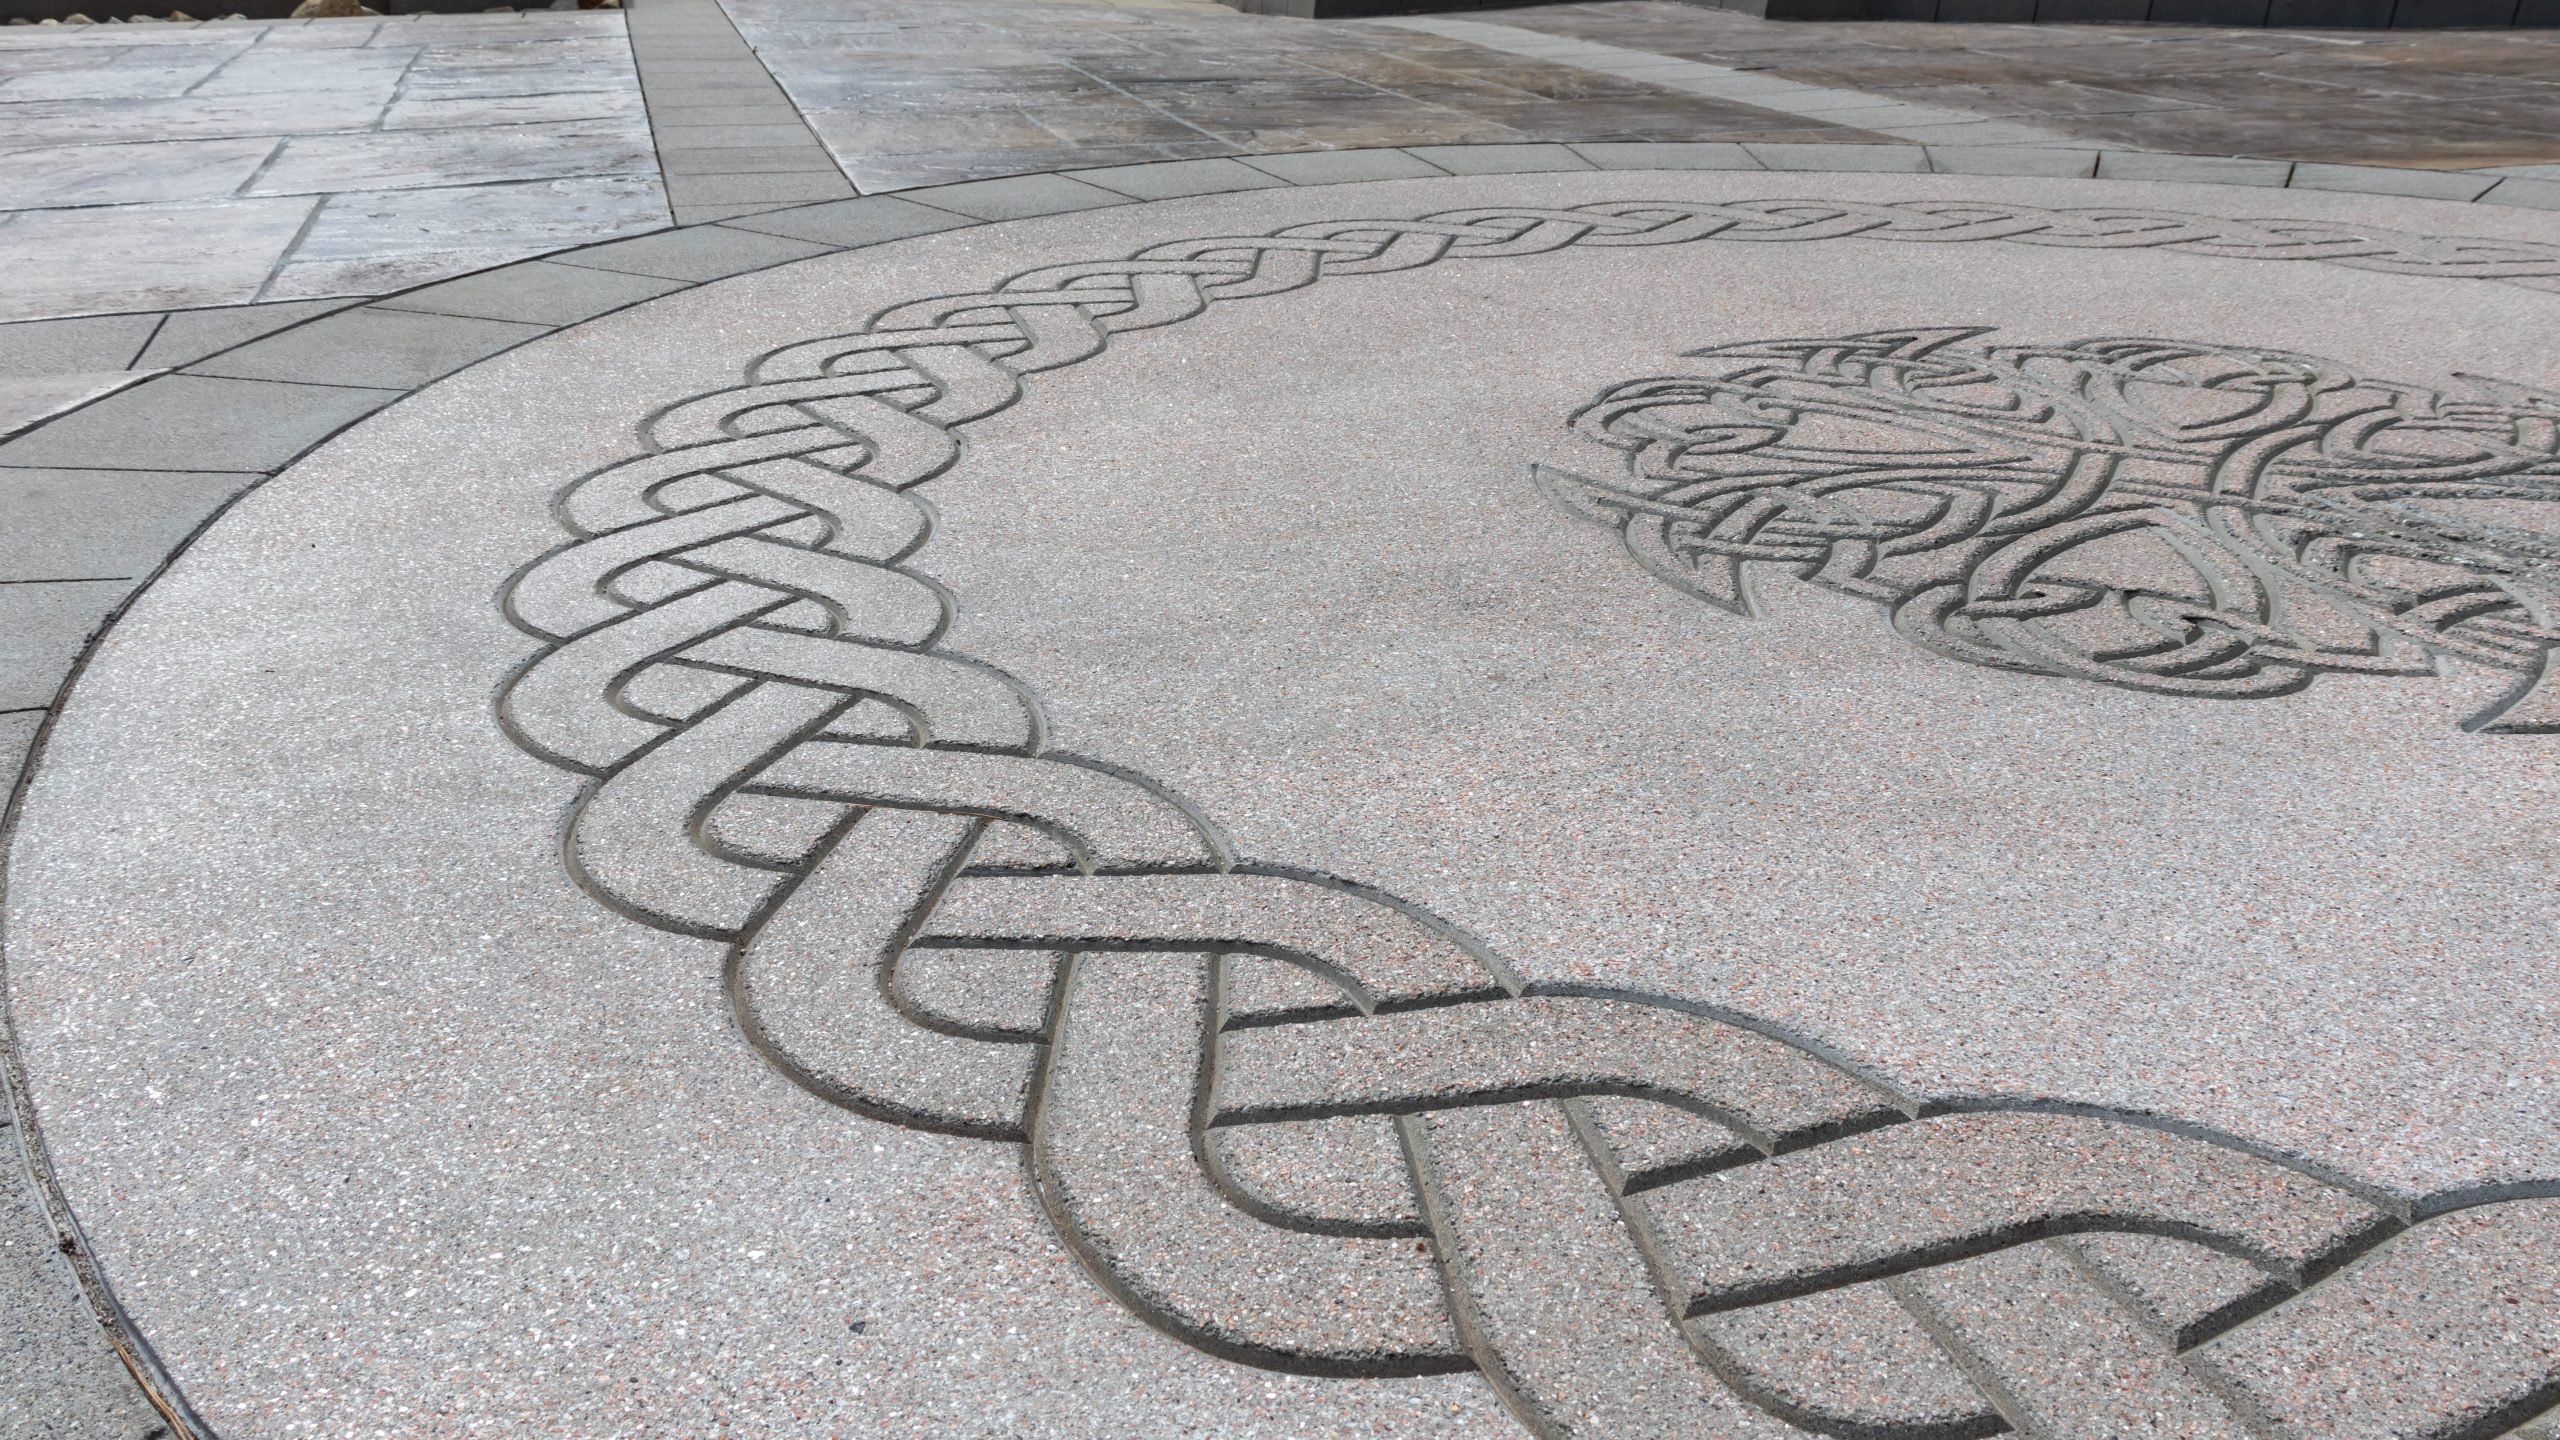
Exposed aggregate finishes continue to grow more popular in the decorative concrete world. In the past, achieving this finish was a complex process. Contractors needed to use methods that came with the risk of inconsistent finishes such as sandblasting and using sugar-based retarders. Fortunately, modern chemical retarders, such as Brickform Select-Etch, are now standard.
Here, Brickform’s technical representative, John Reynolds, provides expert advice for creating beautiful and consistent exposed aggregate concrete finishes. Reynolds has been concreting since 1996 and is a certified NRMCA Concrete Technologist. He oversees the Brickform Training Program and is a pro at surface prep, decorative systems, and technical support.
1. Know Your Mix Design
The composition of your ready mix will affect the way your exposed aggregate project turns out. Reynolds recommends a standard 6-sack mix as a starting point and then adjusting from there. “Sand finishes require more sand in the mix, whereas a larger exposed aggregate finish requires less sand and more aggregate,” he explains. Talk with your ready-mix producer to get the mix design you need for your project.
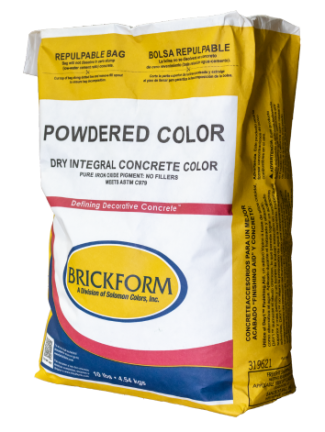
Pro tip: Easily enhance your exposed aggregate installation by adding integral Powdered Color directly into the concrete mix prior to pouring.
2. Understand the Difference Between Mixing & Seeding
In addition to knowing your mix, you need to decide how you want to add your aggregate. You can either mix it into your concrete before pouring, or you can seed it onto the surface after it’s been poured. Deciding which method to use depends on the level of exposure your client wants:
- Combining it with the concrete mix will create a more subtle exposed aggregate finish.
- Seeding the aggregate after pouring the concrete will allow for heavier exposure.
3. Let the Exposure Level Guide Your Finishing Process
The level of exposure your client wants influences the finishing process.
- For lighter exposure levels—such as a light acid wash or sand finish—meticulous finishing is essential. Thoroughly work out trowel marks before applying the Select-Etch so they’re not visible.
- If you’re going for a deeper exposure, you don’t need to worry as much about trowel marks since more paste is removed from the top layer during the exposure process.
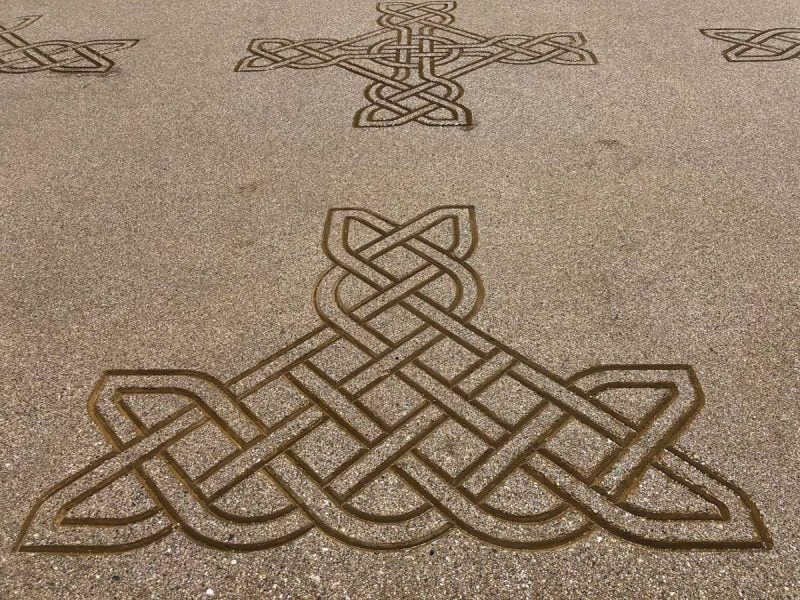
Pro tip: Take your exposed aggregate to another level with Brickform’s Concrete Dimensions reusable stencils. Simply float them into the concrete during your normal finishing.
4. Apply an Exposed Aggregate Product
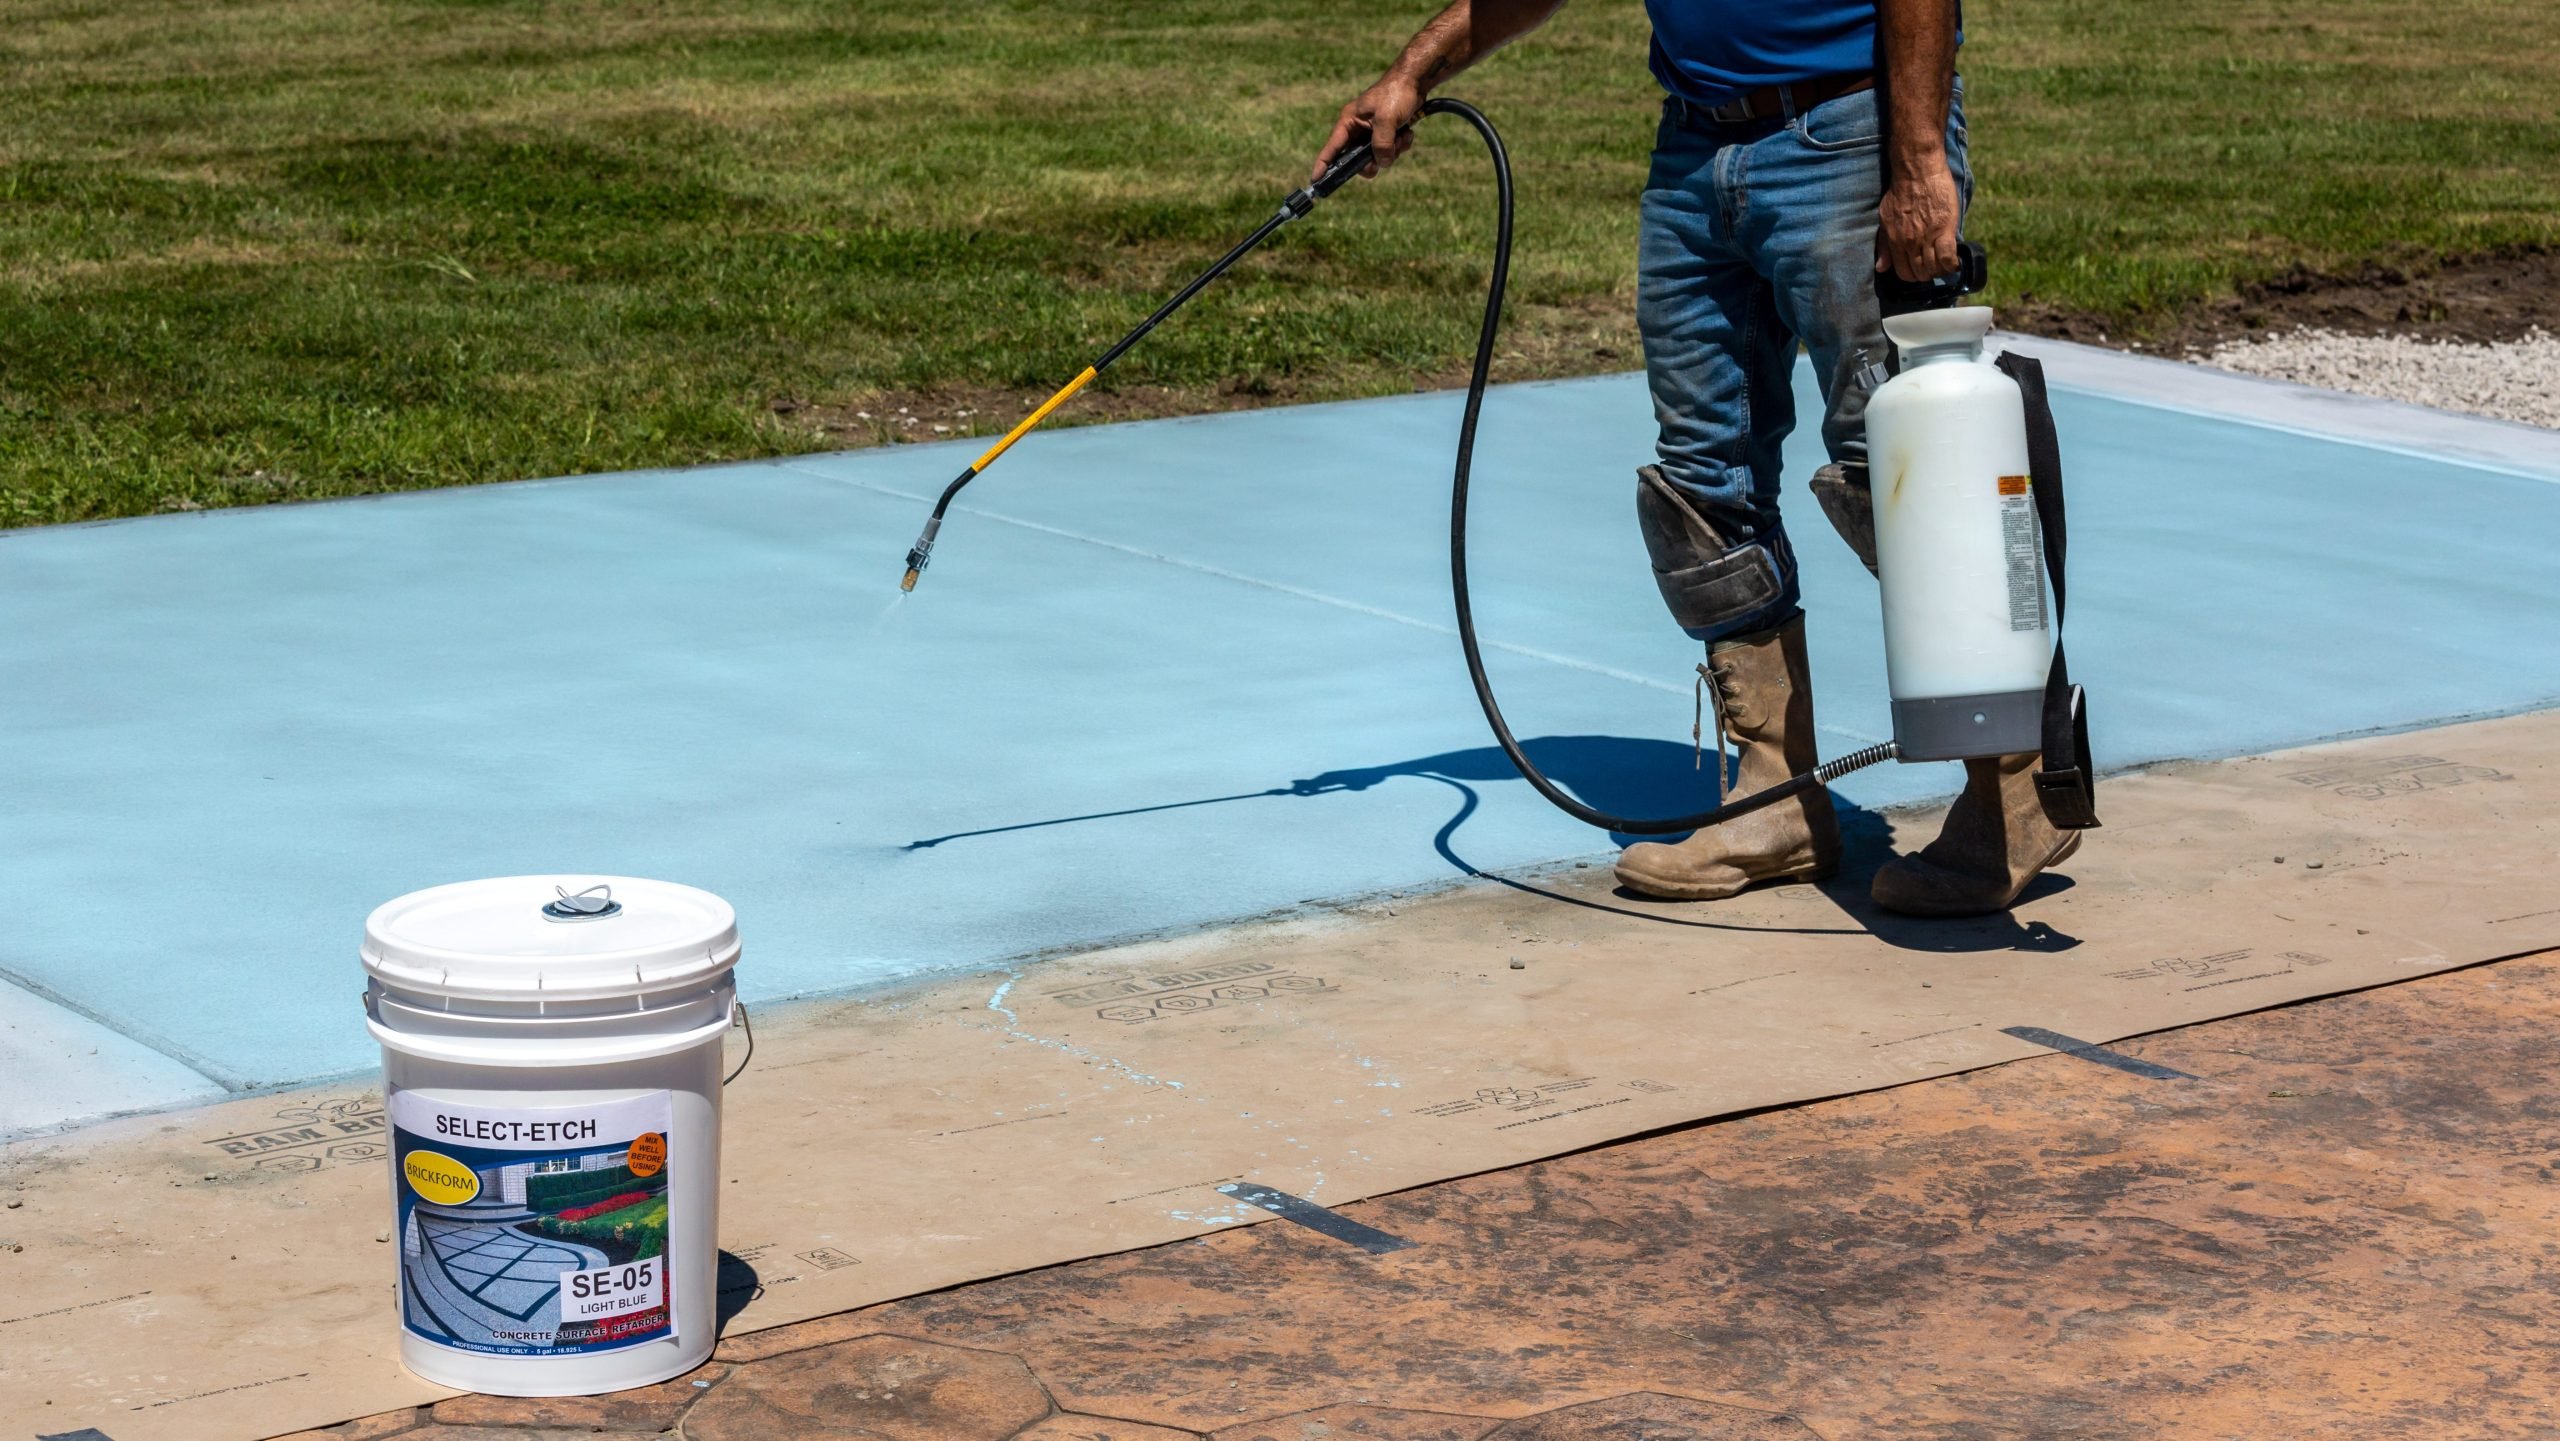
To get the desired aggregate exposure, it’s crucial to use a surface retarder that prevents hardening of cementitious paste. Check the instructions on the Technical Information Sheet and protect the surrounding areas from overspray before getting started.
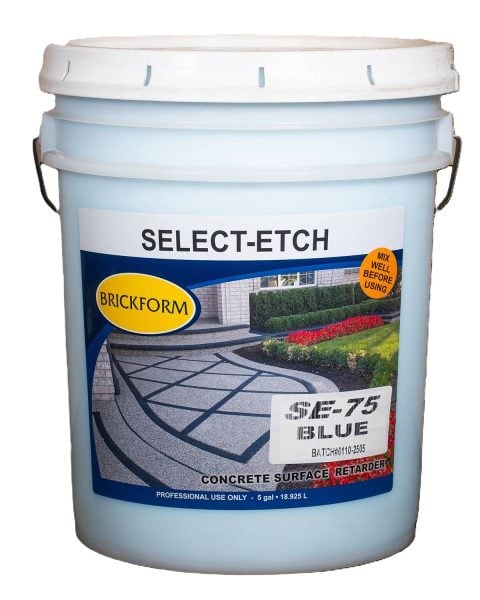
Brickform’s Select-Etch is a water-based surface retarder. It’s designed to selectively slow down the hydration process so contractors have better control over the level of exposure. The product comes in twelve depths of exposure, so you can use it to create surfaces that range from a light sand finish to full aggregate exposure.
When using Brickform’s Select-Etch, you should apply it immediately after the final finishing pass on your concrete. Use an HVLP or pump-up sprayer, such as these Swissmex Sprayers for acids.
5. Ensure Full Coverage for Consistency
When completing an aggregate finish for a client, consistency is key. Make sure to achieve 100% coverage of the surface retarder to get uniform exposure across the slab. Using a surface retarder that’s colored, such as Select-Etch, allows you to easily see where you’ve applied it.
6. Get the Removal Timing Right
Here are some things to keep in mind about when to remove a surface retarder:
- Ideally, surface retarder should be removed about 6 hours after it’s applied (see note below about the weather). If you’re using Brickform’s Select-Etch, it is best to remove it within the 5-12 hour range.
- If necessary, you can sometimes let a surface retarder sit overnight. If you do that, know that it will take more effort to remove the following day.
- Prompt action ensures better control and consistency. The longer you wait, the more difficult it will be to remove and achieve the desired result.
7. Consider the Weather
Like any concrete job, the weather can affect the drying times.
- On warmer days, the surface retarder must be removed on the same day.
- On cooler days, you can wait until the following day. But, don’t want any longer than 24 hours.
8. Choose the Right Tools
As always, the tools you use can impact the quality of your completed job. You’ll need to consider a variety of things when you expose the aggregate. What tools you’ll use depends on when you remove the top surface layer:
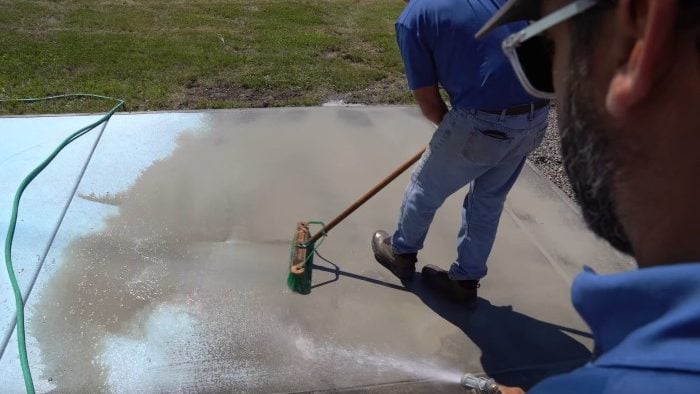
Broom
Use a broom and hose if you are removing the retarder and cream within 4-6 hours. Keep in mind that the stiffness of the brush will greatly impact the outcome of your finished surface. Begin with a soft-bristle broom and then switch to a coarser bristle brush if needed. “It’s easier to remove material than to add it back,” advises Reynolds. “So begin with the least aggressive option and adjust as needed.”
Rotary buffer
If you remove it between 6-12 hours, use a buffer or swing buffer equipped with a nylon bristle brush attachment. This tool will provide the most consistent exposure.
Pressure washer
Contrary to popular belief, using a pressure washer to rinse off your surface retarder isn’t ideal. A pressure washer’s powerful spray could damage the surface by gouging it and exposing too much aggregate. That said, if it has been longer than 12 hours, you may need to resort to this option, but proceed with caution.
9. Clean Up Properly & Seal
When cleaning up the slurry be sure to dispose in accordance with EPA and individual state environmental regulations.
When cleaning up the surface of the concrete itself, use cleaners such as E-Etch® and Neutra Clean before you begin the sealing process. These cleaners help remove any residue or contaminants, ensuring a clean surface ready for sealing.
Finally, you’ll need to seal your exposed aggregate to protect and enhance its appearance. Brickform offers excellent sealer choices for this purpose. Use Stealth-Seal WB, to protect and preserve the natural appearance of exposed aggregate with a no-gloss finish. Alternatively, Gem-Guard SB offers exceptional protection and enhances the color and texture of the exposed aggregate surface with a low sheen.
See More