How to Apply Concrete Sealer
A step-by-step guide on how to seal concrete for long-lasting protection and enhanced durability
Sealer is an important part of decorative concrete. Sealer is also the biggest source of technical issues and failures. Most failures comes from poor sealer application. This is why it is so important to apply concrete sealer correctly. Choose the right sealer for the job and put it down correctly. This will avoid expensive callbacks and repairs.

What is Concrete Sealer?
Sealers are a wide range of materials designed to be applied to the surface of concrete for protection. Every sealer has its own capabilities and qualities. Many sealers are designed to protect against common food and chemical stains. Sealers are often used to control water penetration or protect against harmful salts. They may even resist abrasion or improve curing.

Step 1: Choose Your Sealer Carefully
Choosing the right sealer for your concrete surface is a crucial first step in ensuring its longevity and performance. The selection process involves several key considerations that can significantly impact the effectiveness of the sealer and the overall durability of the concrete.
For example, a stamped concrete sealant will probably need to enhance color and add gloss for the desired appearance. It will also need to protect the concrete from mild staining and dirt. It won’t, however, need to be durable against industrial chemicals or high traffic.
Pro tip: Always conduct a jobsite sample to ensure the sealer works well with your surface. Testing helps check for proper adhesion, coverage, and the final appearance.
Here’s a quick overview of the different types of sealers to help you make the best choice:
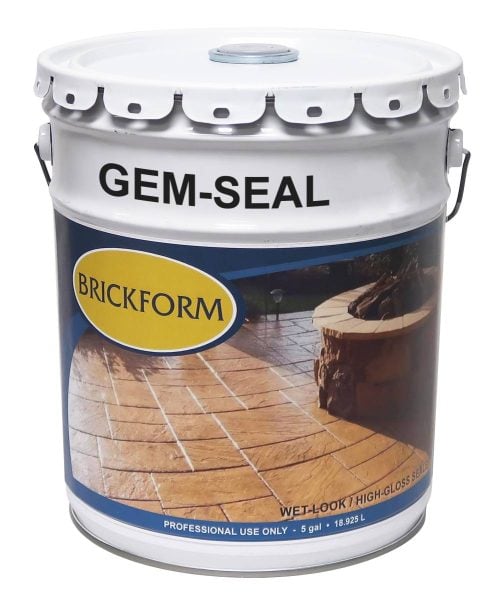
Film-forming acrylic sealers:
- Most common for decorative, colored, and stamped concrete
- Protect against residential stains and dirt
- Repel water
- Enhance appearance
- Try Gem-Seal
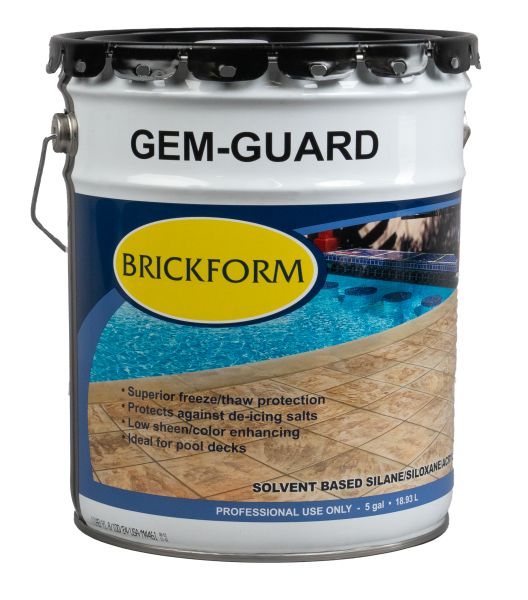
Penetrating sealers:
- Sink into concrete
- Repel water, oils, and contaminants
- Allow concrete to breathe
- Prevent freeze-thaw damage
- Reduce mold and mildew risk
- Minimal change to concrete appearance
- Try Gem-Guard SB
Cure and seal products:
- Used on newly poured concrete that hasn’t fully cured
- Protect and seal concrete during curing process
- Prepare concrete for regular sealer application later
- Try Gem-Cure & Seal
High-performance coatings:
- Withstand extreme conditions (heavy foot traffic, chemical exposure)
- Feature advanced formulations
- Enhance adhesion, flexibility, and abrasion resistance
- Suitable for industrial floors and commercial spaces
- Try UreMax WB

Step 2: Gather Your Materials
Before you begin the sealing process, it’s important to gather all necessary materials and tools. Here’s a list of what you’ll need:
- Concrete sealer: Choose a high-quality sealer suitable for your specific type of concrete (e.g., acrylic, epoxy, or penetrating sealers).
- Broom or vacuum: For cleaning the surface.
- Pressure washer or hose: To remove dirt and debris.
- Concrete cleaner: Optional, for tough stains. Try NeutraClean.
- Paint roller or sprayer: For applying the sealer. Check out Swissmex sprayers.
- Paintbrush: For edges and corners.
- Protective gear: Gloves, goggles, and a mask to protect against fumes and chemicals.
- Drop cloths or plastic sheeting: To protect surrounding areas.
Step 3: Prepare the Concrete Surface
Almost more important that how to apply concrete sealer is how to prepare the surface for sealer. This is where most sealer failures happen.
The first step is to remove concrete sealer if any is present, with a stripper like Strip-It. Existing concrete often times has residual sealer left over from previous installations. Even just a little leftover sealer can cause major failures.
Most sealers will require at minimum, a clean surface free of dirt and contaminants. Use a broom or vacuum to remove loose dirt and debris. For a deeper clean, consider using a pressure washer or hose to wash the surface thoroughly. If there are any stains (oil, grease, etc.), apply a concrete cleaner, like Neutra Clean, and scrub the area with a stiff brush. Allow to fully dry before applying sealer.
Pro tip: Achieving a proper surface profile (CSP 1 or CSP 2) is crucial for effective sealer adhesion, particularly on smooth or dense surfaces.
Some surfaces may also require a light etch or grinding. E-Etch is a good choice. This removes stubborn contaminants and makes the concrete more porous.
Before you apply a decorative concrete sealer, always make sure to read all technical documents for your chosen sealer, additives, and surface preparation chemicals. Follow the instructions carefully. Be mindful of surface defects, stains, and potential bond breakers.
If properly used, sealer can make your concrete look and perform better for years to come. Check out our surface preparation guide here.
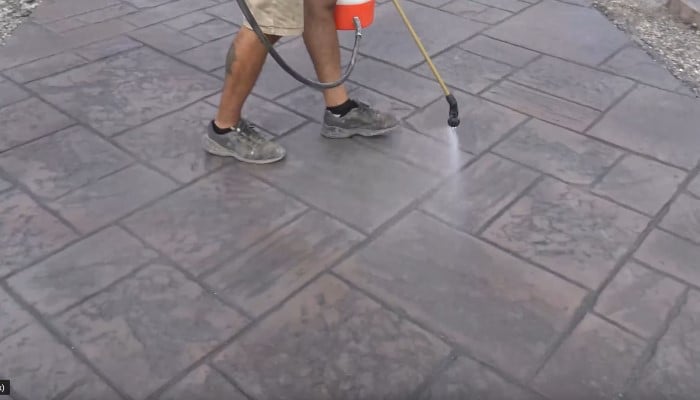
Step 4: Apply the Sealer
Application methods for sealers are actually fairly simple. Most sealers are best applied using a specialty sprayer. Spray the sealer in multiple thin coats as evenly as possible. This will reduce the likelihood of bubbling, over application, and many other common sealer problems. For best results, we recommend using a Swissmex sprayer with a Brickform Precision Tip.
Pro tip: Watch the weather closely. Apply sealers when the air and surface temperature is between 45°F (7.3°C) and 85°F (29.5°C). Application outside of this range may result in improper curing, leading to issues like bubbling, blushing, or adhesion failure. Windy or humid conditions can also lead to sealer failure.
Some sealers can be applied using a roller. If spraying is an option, that is usually the best case. The exceptions would be some interior coatings. Follow the instructions in the technical information sheet for your sealer for best results.
Watch sealing & maintenance videos.
Step 5: Let the Sealer Dry
After applying the final coat of sealer, allow it to cure for the recommended time. This can vary based on the type of sealer used and environmental conditions. Avoid foot or vehicle traffic during this curing.
Here are some typical timeframes to consider:
- Most sealers will be dry to the touch in just a few hours
- Many can handle light foot traffic after 24 hours
- However, they won’t be fully cured until up to 72 hours after application
Don’t Forget to Maintain Your Sealed Concrete
Applying a concrete sealer is an important step in protecting and enhancing your concrete surfaces, but the work doesn’t end there. Regular maintenance and timely reapplication are crucial for long-lasting results:
- Clean your sealed surface regularly with mild soap and water to prevent dirt buildup.
- Avoid harsh chemicals that could damage the sealer.
- Inspect the surface periodically for signs of wear or damage.
- Reapply the sealer as needed – typically every 2-3 years for exterior surfaces and 3-5 years for interior surfaces, depending on use and exposure.
- Always follow the manufacturer’s guidelines for maintenance and reapplication.
By choosing the right sealer, applying it correctly, and maintaining it properly, you can ensure your concrete surfaces remain protected, beautiful, and durable for years to come. Remember, a little care goes a long way in preserving your investment.
See More