10 Ways to Take Your Stamped Concrete to the Next Level
Learn expert techniques for stamped concrete that go beyond the basics
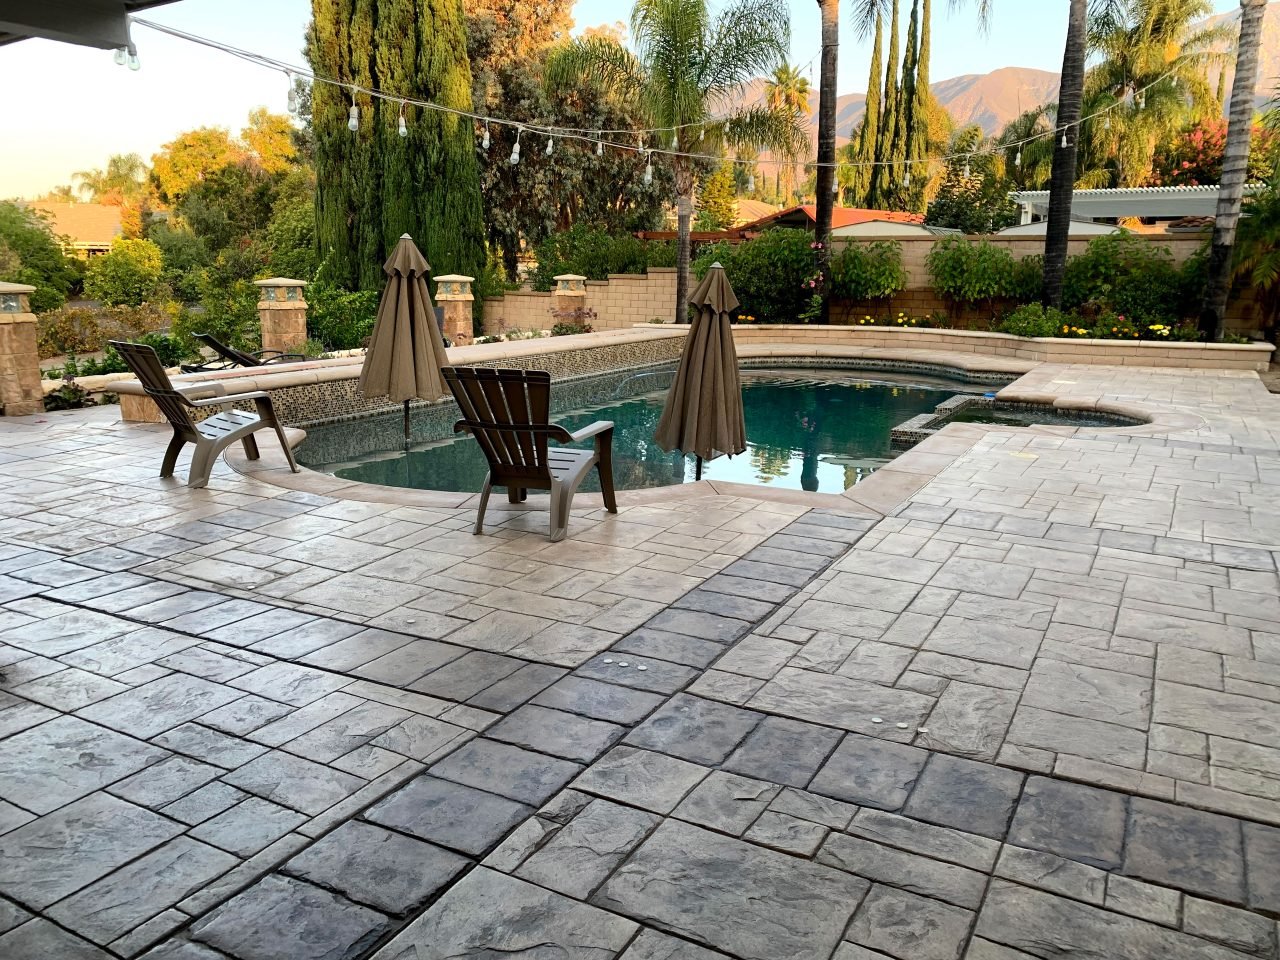
Stamped concrete that truly turns heads isn’t just well executed, it’s perfectly imperfect. The texture is realistic. The color has depth. The joints are worked into the design. Getting there takes more than good fundamentals. It takes craftsmanship, creativity, and a willingness to push beyond the standard pour-and-stamp approach. Here’s how to take your stamped concrete to the next level.

1. Fight shrinkage cracking from the start.
Natural stone doesn’t have shrinkage cracks, but concrete does. Nothing gives away a stamped job faster. For a longer, more uniform cure, add UltraFiber 500 to the mix. On hot or windy days, apply DAY1 when finishing to hold bleed water at the surface and buy you time. Used together, they’re your best defense against shrinkage cracking.
“If realism is your goal, use these before you even lay a stamp down.”
— Antonio Thomas, Brickform
2. Stamp smart to avoid repetition.
Have enough concrete stamps to span the length of the pour plus one or two and make sure they are the right size. Undersized tools produce impressions that look crowded and make repetition more obvious. Get the first mat right before the crew follows, because misalignment compounds over a long run. Rotate each stamp as you go and follow the placement map. Repeating the same sequence creates a manufactured look a homeowner will notice.
Pro Tip: On some projects, angling the pattern at 45° rather than running it square to the slab breaks up the grid effect and reads more naturally.

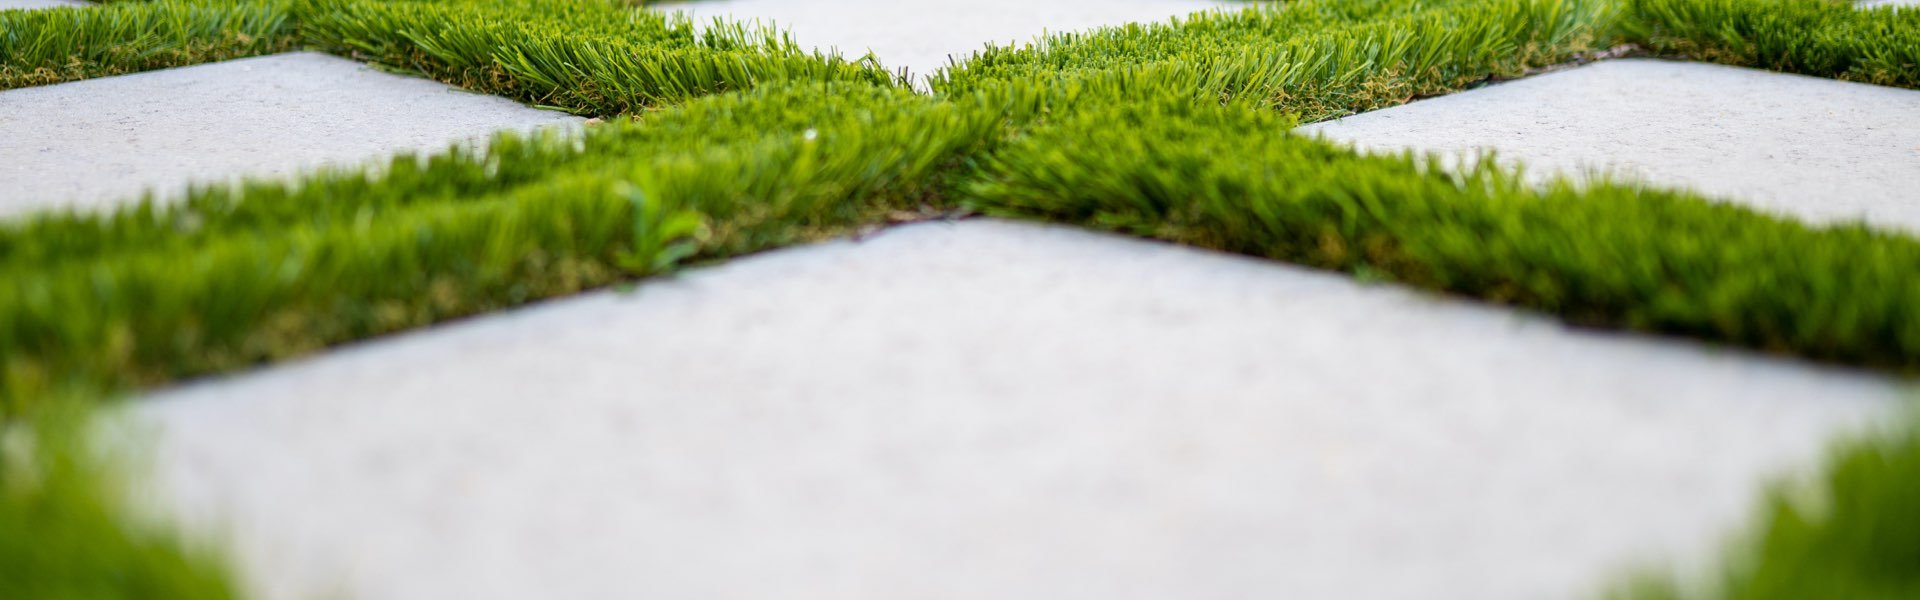
3. Handle skins carefully.
Seamless texture skins are one of the most popular looks in stamped concrete right now. They are a quick way to add texture and easy to handle. But don’t get overconfident. Sloppy technique shows on a seamless surface more than almost anywhere else. Overlap the edges and feather the seams. A hard edge where two skins meet is visible on the finished surface. Lay it down and leave it. Repositioning creates a double imprint that’s tough to fix.


4. Add a decorative border.
A border is one of the best ways to elevate a stamped job. It frames the work, hides awkward edges, and disguises pattern repeats. A contrasting texture or color takes it further.
Brickform’s border stamp line has brick, cobble, tile, and slate patterns made for this.
5. Turn your joints into a design feature.
A control joint cut through the middle of a stamped pattern announces that you’re looking at concrete. The obvious fix is to hide joints in grout lines by planning your pattern orientation from the start. But the next level move is to make them disappear into the design entirely.
A few approaches to try:
- Create a diamond pattern on seamless textured slabs by cutting additional lines across control joints.
- Run contrasting bands through the field to hide joints and add visual interest.
- Use exposed aggregate bands at the joints for a striking texture contrast.
With a bit of creativity, the joints stop being a problem and start being part of the design.
6. Layer your Color Hardener for one-of-a-kind color.
Color Hardener does more than harden the surface. It’s one of your first opportunities to build color variation. Broadcasting two, three, even four shades before stamping creates a natural marbling effect. Combine that with a base integral color and you have a look that’s all your own.

7. Use multiple release colors.
Nature isn’t uniform, and your release application shouldn’t be either. Using a few shades of brown, red, or grey powdered Antique Release adds natural color variation across the surface. Prefer liquid release? Antique-It gives you the same secondary color effect without the dusty powder. Brush it on after stamping for an antiqued effect that settles into the low spots and joints.
Pro Tip: Be careful not to over apply Antique Release. A thick layer can be hard to wash clean before sealing and could even be visible as dark spots in the finished work.

8. Take it further with stain.
For maximum color depth, hand stain individual stones with ARTesian Stain after cure. Then finish with a marry coat: a watered-down mix of all the stain colors used, sprayed over the whole slab to unify everything. It ties all the color layers together the way Antique-It does, but with the depth and variation of stain.
Did You Know? You can also make existing stamped concrete look more realistic. On unsealed or resurfaced slabs, chip brushes and sponges can be used to highlight individual stones with ARTesian Stain, followed by a brush-on application of Antique-It for secondary color. Adding color layers is often the fix. No new pour required.
9. Get the details right with touch-ups.
Paste pushed up between mats creates fins and ridges that don’t exist in natural stone. Handheld grinders, touch-up wheels, chisels, and margin trowels are how you clean it up. Surface tears can be closed by gently tapping with a hammer while the concrete is still workable, or filled with a slurry of release agent.
Pro Tip: Next-day touch-up is sometimes easier. Once the concrete has set, use chisels or rub bricks to knock down any high spots or ridges you missed the day before.
10. Choose the right sealer and apply it correctly.
High gloss and natural stone realism don’t always work together. Seal with Gem-Guard SB for a natural look, or Gem-Seal for a wet look. Spray-and-back-roll, and don’t go too thick. Bubbles and cloudiness will undo everything you just did.
For product recommendations or technical questions, contact your local Brickform distributor or call 1-800-483-9628.
See More